

 |
| (As you can see, this is the bathroom which will have a major overhaul, tub removed, shower installed, closets redesigned, and the walls pretty much replaced. This room will be the last room done as it will cost the most) |
I figured I would show you how easy an LED fixture goes up.
Step one is always the same, make sure the power is off,
Remove the lamp glass and bulb

Loosen the two support screws, rotate the fixture so the screws can slide through the wide part of the slot and lower the fixture. Loosen and remove the wire nuts and discard the fixture.

The new system will have new screws, nuts and a socket/wire assembly

Attach the new socket and secure with the nuts

The kit also comes with a adapter plate, this may or may not be needed, screw the assembly into the socket and tuck the wires up inside the ceiling.


Raise this attachment up and see if the existing screws line up with the new fixture, if they do you will not need the adapter plate. If they do not secure the adapter plate to the box with the two short screws supplied.
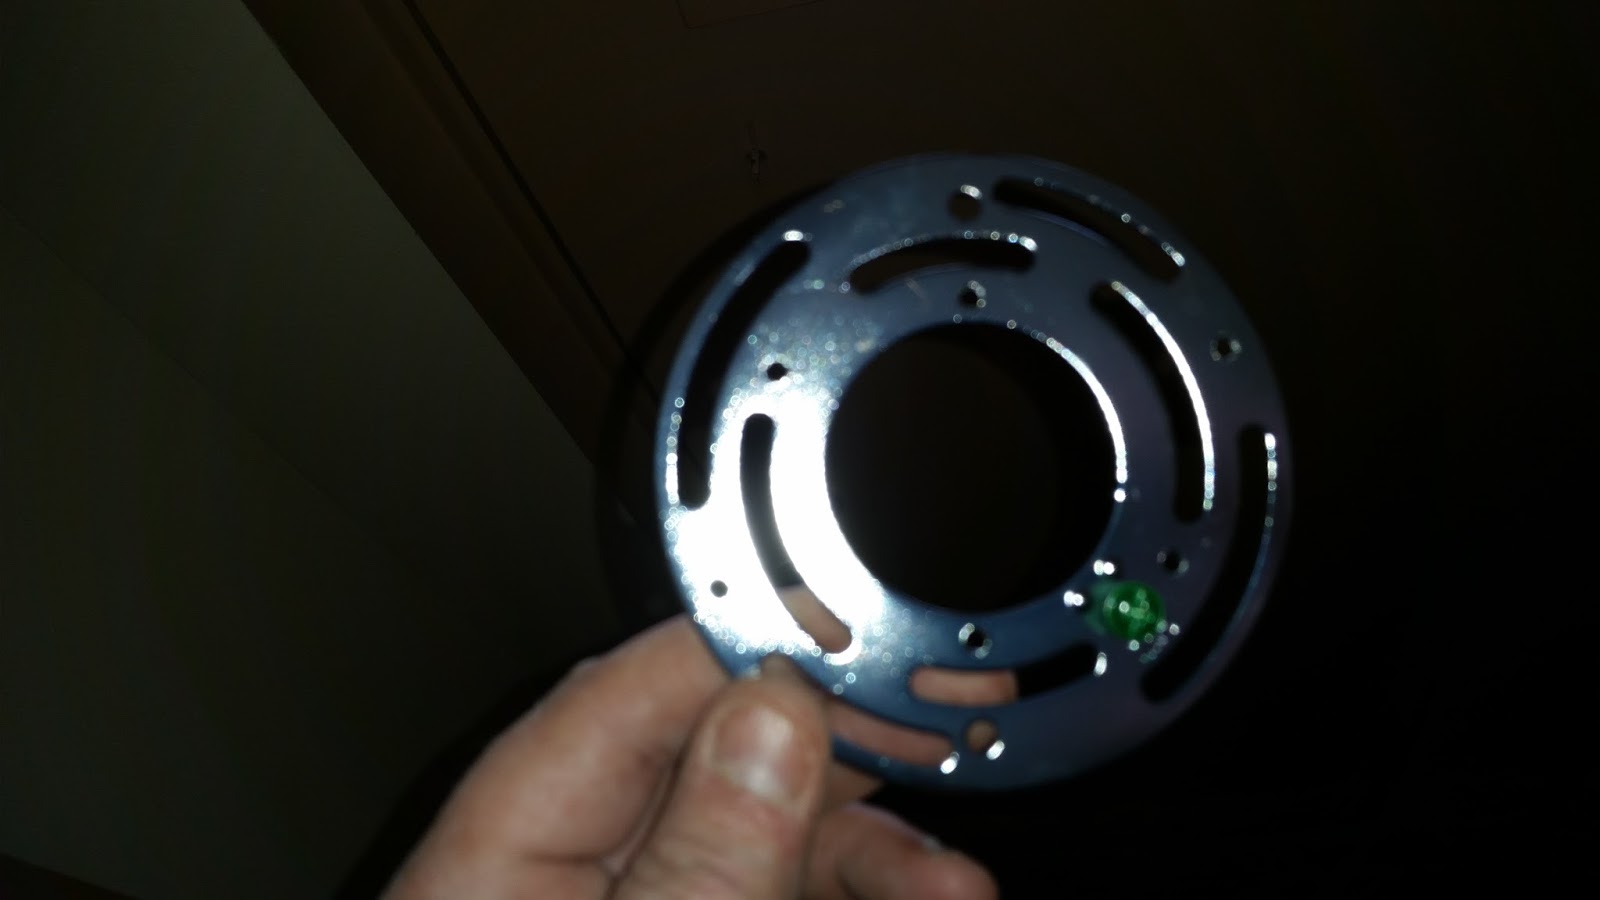
The new plate has a green ground screw on it, if the box is already grounded this will not be necessary to use.

The new kit also comes with new long screws, once again test fit the attachment, if the new screws are too long to tighten into the existing box you can use the originals, if the originals are too short to reach through the new lamp use the longer screws. Be careful not to screw into the wires in the box.

Slide the fixture holes up over the screws, rotate to the slotted end of the opening and tighten.


At this point you can test the unit, turn the power on

The last step is the dome, it has three notches which line up with three lips on the unit, push up into the notches and rotate.

You are done, put away your tools and vacuum the floor for any ceiling debris or insullatio n which may have fallen.

No comments:
Post a Comment